
How to Bind a Quilt Neatly: A Step-by-Step Guide for Canadian Quilters
There’s a moment every quilter knows well: the quilt top is finished, the quilting is done, and all that stands between you and a completed project is the binding. It’s tempting to rush through it, but we’ve learned the hard way that a rushed binding shows. We once stitched a binding on too quickly, only to discover puckers along the edge that no amount of pressing could fix. After ripping it out and starting over, we gained a new appreciation for taking our time. A neat binding frames your quilt, protects its edges, and gives it that polished, professional look you’ll be proud to show off. Whether you’re a beginner or a seasoned Canadian quilter, this guide walks you through each step of binding a quilt neatly from start to finish.
Choosing the Right Binding Fabric
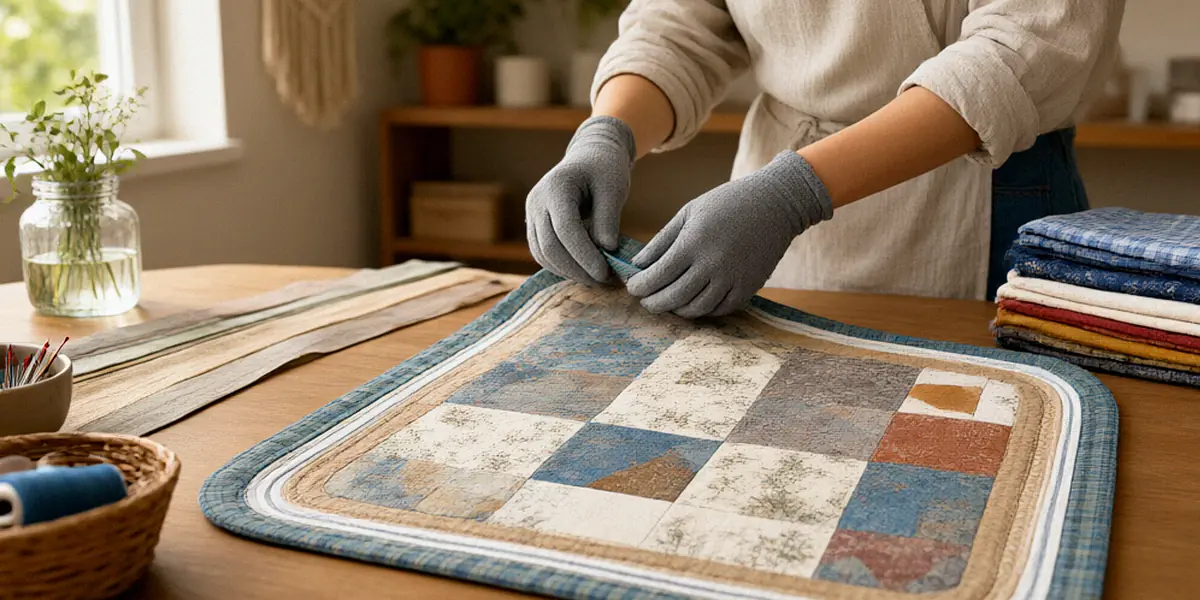
The fabric you choose for your binding affects both the look and the longevity of your quilt. You’ll want a durable, tightly woven cotton that can withstand handling and washing. Consider how the binding colour and pattern interact with your quilt top and backing — this is your final design decision, so it matters. Canadian quilters have plenty of options: Fabricland is a popular Canadian fabric store for quilting supplies, with locations across the country, and online shops like The Quilting Bee offer curated selections of quilting cottons and precuts. When in doubt, buy a little extra so you have room to work.
Matching vs. Contrasting Fabrics
A matching binding creates a seamless, understated finish that lets your piecing and free-motion quilting take centre stage. A contrasting binding, on the other hand, acts like a frame — it draws the eye to the quilt’s edge and can add a bold pop of colour. If you want the binding to disappear, match it to the border or backing. If you want it to make a statement, choose a colour pulled from your quilt’s palette or a complementary print. There’s no wrong answer here; it depends on the look you’re after.
Fabric Grain: Bias vs. Straight Cut
Straight-grain binding, cut along the lengthwise or crosswise grain of your fabric, is the most common and economical choice for quilts with straight edges. It has minimal stretch, which makes it easy to handle. Bias binding, cut at a 45-degree angle, has more stretch and flexibility, making it ideal for quilts with curved edges or shaped corners. Bias binding also wears well on quilts that will see heavy use. For most rectangular quilts, straight-grain binding works beautifully and wastes less fabric.
Cutting and Preparing Your Binding Strips
Accurate cutting is the foundation of a neat binding. Before you cut, make sure your fabric is pressed and squared up. A sharp rotary cutter and a reliable ruler — we’re fans of Omnigrid rulers for their clear markings and durability — will keep your strips consistent. Dull blades cause skipped threads and ragged edges, so change your blade regularly. Cut your strips to the width you’ve calculated, then trim away the selvedges before joining them.
Calculating Binding Length
To determine how much binding you need, measure the perimeter of your quilt (width + length) × 2, then add about 10 to 12 inches for corners and joining. Divide that total by the usable width of your fabric (usually around 40 inches after removing selvedges) to find how many strips to cut. For example, a quilt measuring 60 × 70 inches has a perimeter of 260 inches; adding 12 inches gives 272 inches, which means you’ll need 7 strips if each strip is 40 inches wide. Always round up rather than down.
Joining Strips with Diagonal Seams
Joining strips with diagonal seams distributes bulk evenly and prevents lumps along your binding. Place two strips right sides together at a 90-degree angle, overlapping the ends, and stitch from corner to corner. Trim the excess fabric to a quarter-inch seam allowance, press the seam open, and continue until all strips are joined into one continuous length. This method keeps the binding smooth and flexible as it wraps around the quilt edge.
Attaching Binding to the Quilt
Once your binding strip is pressed in half lengthwise, it’s time to attach it to the quilt. Align the raw edges of the binding with the raw edges of the quilt front, and stitch using a quarter-inch seam allowance. Start partway down one side rather than at a corner, and leave a tail of several inches unsewn so you can join the ends later. Canadian quilters often share tips through local guilds — the Toronto Modern Quilt Guild, for instance, offers workshops and community resources that help members refine techniques like this one.
Sewing with a Walking Foot
A walking foot feeds all layers of the quilt evenly, preventing the binding from shifting or stretching as you sew. This is especially important when binding a quilt with thick batting or dense quilting. Attach the walking foot, adjust your stitch length to about 2.5 mm, and sew slowly around the perimeter. Stop a quarter-inch from each corner, backstitch, and remove the quilt to fold the mitre before continuing.
Mitred Corners Technique
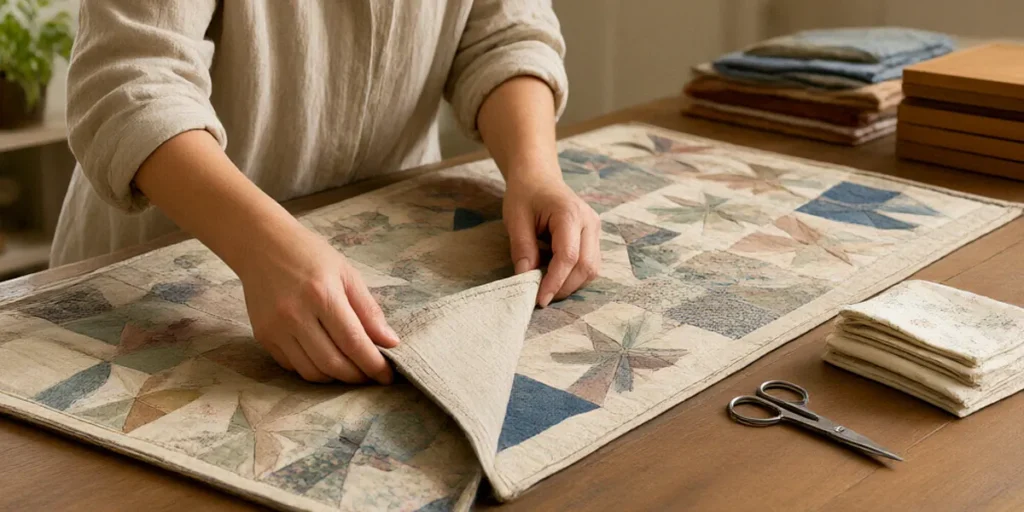
Mitred corners give your binding crisp, professional-looking angles. When you reach a corner, stop stitching a quarter-inch from the edge and backstitch. Fold the binding up and away from the quilt, creating a 45-degree angle, then fold it back down along the next edge. Pin or clip in place, and resume sewing from the top edge. Repeat at each corner, and take a moment to check that the folds sit flat before stitching over them.
Finishing the Binding by Hand or Machine
Once the binding is attached to the front, you’ll wrap it to the back and secure it. Both hand-stitching and machine-finishing have loyal followings among Canadian quilters, and the right choice depends on your priorities — appearance, speed, or durability.
Hand-Stitching for a Seamless Look
Hand-stitching the binding to the back gives the cleanest, most invisible finish. Using a ladder stitch or blind stitch with a fine needle and quality thread — Aurifil thread is a preferred brand among Canadian quilters for binding because of its strength and low lint — you can secure the binding so the stitches barely show. It takes longer, but the result is polished and heirloom-worthy. Many quilters find it a relaxing way to finish a project.
Machine Binding for Speed and Durability
Machine binding is faster and produces a strong, washable finish, which is ideal for quilts that will be used daily. You can stitch in the ditch from the front, or use a decorative stitch along the binding edge from the back. The trade-off is that machine stitching is visible, and it takes practice to keep the line straight and even. If you’re binding a baby quilt or a utility quilt, machine finishing is a practical choice.
Tips for a Perfectly Neat Finish
Small details make a big difference in how your binding looks and holds up over time. Here are a few habits we’ve adopted after years of binding quilts:
- Press the binding thoroughly before attaching it, and press again after stitching.
- Trim excess batting and backing even with the quilt top before binding to avoid bulk.
- Check your stitch tension on a scrap sample before sewing the real thing.
- Use clips instead of pins to hold the binding in place without distorting the fabric.
- Store finished quilts away from damp basements — Canadian winters can affect fabric storage, and excess moisture leads to mildew and fibre damage.
Pressing and Trimming
Before you attach the binding, trim the quilt’s edges so batting and backing are flush with the top. A clean edge means your binding will sit flat. After attaching and folding the binding to the back, press it gently with a dry iron, being careful not to press the binding flat in a way that distorts the fold. Pressing sets the stitches and gives the binding a crisp, tailored appearance.
Troubleshooting Common Issues
If your binding looks wavy, the strip was likely stretched during sewing — try using a walking foot and easing the fabric rather than pulling it. If corners bulge, your mitre may not be folded tightly enough; unpick and refold. If stitches show through on the front, adjust your seam allowance or stitch closer to the fold. Finally, if your binding feels too tight, cut a slightly wider strip next time. Each quilt teaches you something new.
FAQ
How wide should I cut my binding strips?
For most quilts, cut strips 2½ inches wide. If you prefer a wider binding or are working with thick batting, cut 2¾ to 3 inches. Always test on a scrap to confirm the finished width looks right for your quilt.
Can I use pre-made bias tape for quilt binding?
You can, but pre-made bias tape is often narrower and thinner than standard quilt binding. For durability and a consistent look, most quilters prefer cutting their own strips from quilting cotton.
How do I join the two ends of the binding?
Leave several inches of unsewn binding at the start and end. Overlap the ends, mark where they meet, and join them with a diagonal seam just like you did with the strips. Trim, press, and stitch the remaining section closed.
Should I wash my quilt before or after binding?
We recommend binding first, then washing. Pre-washing fabric before piecing is fine, but washing after binding lets the quilt finish shrinking and gives the binding a soft, crinkled texture.
How do I store quilts during Canadian winters?
Keep quilts away from damp basements, which can encourage mildew. Store them folded in a cool, dry closet, and refold periodically to avoid permanent creases. A cotton pillowcase makes an excellent storage cover.
Binding a quilt neatly comes down to patience, preparation, and practice. From choosing the right fabric at Fabricland or The Quilting Bee to mastering mitred corners and hand-stitching with Aurifil thread, every step builds your skill. We’d love to see your finished bindings — share your results with our Canadian quilting community, and keep an eye on the Toronto Modern Quilt Guild for workshops and inspiration. Happy quilting!